


Affiliate Disclaimer
Some links in this article are affiliate links. We may earn a small commission if you make a purchase through these links, at no extra cost to you. We only recommend products we find useful to our readers
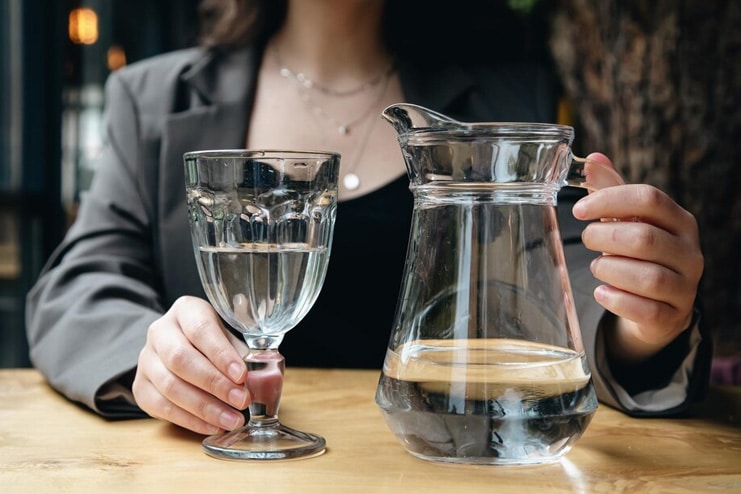
Producing mineral water at home empowers you to take control of your health and environment. It’s a straightforward and economical method that ensures you and your family drink water rich in minerals and of high quality. By making your own mineral water, you save money and minimize plastic waste, contributing to a healthier environment. As you become more conscious of the importance of living a sustainable lifestyle, you can turn to homemade solutions for your daily requirements, such as producing mineral water. This gives you complete control over the components, ensuring the water you drink is pure and tailored to your individual health preferences.
Understanding Mineral Water
Mineral water naturally derives from springs or artificial supplementation and adds trace elements and essential minerals. Both natural and synthetic sources contain it. Mineral water provides various health benefits, unlike purified or tap water, which may be deficient in essential elements. Calcium, magnesium, sodium, and potassium are the most critical minerals typically discovered in mineral water.
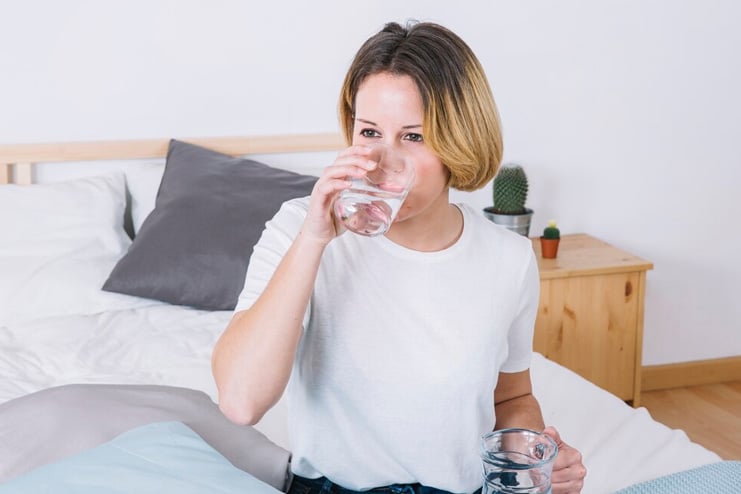
Minerals like calcium and magnesium are essential for maintaining healthy bones and muscles, nerve function, and energy creation. Sodium helps maintain a healthy balance of fluids in the body, while potassium contributes to the normal functioning of the heart and muscles. When taken as a whole, these minerals contribute to improved digestion, enhanced general well-being, and improved hydration. Mineral water is a healthier alternative to conventional tap or filtered water, as it can help recover electrolytes lost during physical activities. Realizing these advantages underscores the significance of introducing mineral water into your daily routine, motivating you to strive for the highest possible level of health.
Why Make Mineral Water at Home?
Making mineral water at home has a lot of advantages.
- First, it gives you complete control over the quality and composition of the water you drink. By selecting the minerals and adjusting their concentrations to your specific health requirements, you can ensure that you receive the most advantages.
- The second advantage is that it is very economical. In particular, when consumed daily, mineral water purchased from a commercial establishment may be pretty pricey, but making it home can significantly cut expenditures.
- In addition, producing your own mineral water results in less plastic waste, making it a healthier option for the environment. The vast majority of commercially available mineral water is packaged in plastic bottles, which contributes to pollution and the destruction of the environment. When you use containers that can be reused at home, you reduce your impact on the environment.
- However, it’s essential to consider the overall environmental impact of your mineral water production, including the energy used in the process and the disposal of any waste materials. Strive to make a sustainable choice at every step of the way. Not only does making your mineral water assure its freshness and cleanliness, but it also allows you to avoid the harmful pollutants in some manufactured bottled water products.
Adopting this do-it-yourself method not only helps people save money and improve their health but also encourages more environmentally responsible ways of living.
Essential Ingredients and Equipment
A few essential parts of the apparatus are needed to create high-quality mineral water, such as distilled or purified water, which will be the basis.
- The human body requires mineral supplements to improve its quality of life. Calcium carbonate, magnesium sulfate (also known as Epsom salt), potassium bicarbonate, and sodium chloride (also known as table salt) are all examples of common minerals.
- These can be purchased from pharmacies, health food stores, or even online sellers (online retailers). If you prefer natural sources, consider using mineral-rich herbs or sea salt as alternatives.
- You will also need clean, reusable containers to store your mineral water, preferably glass or plastic bottles that do not contain BPA.
- Please ensure the containers are sterilized by thoroughly washing them in the hot, soapy water and rinsing them well. Then, either sanitize them with a sanitizing solution or boil them for ten minutes. This action is necessary to keep your water safe and high-quality.
- Additionally, it is essential to have a trustworthy filtering system. If you want to eliminate contaminants from your base water before adding minerals, you can use a water filter that is either beneath the sink or on your countertop. These filters are available for purchase in home improvement stores and online.
If you take the time to source these components properly, you can ensure that the mineral water you make at home is risk-free and helpful to your health.
Step-by-Step Guide
Step 1: Water Selection and Preparation
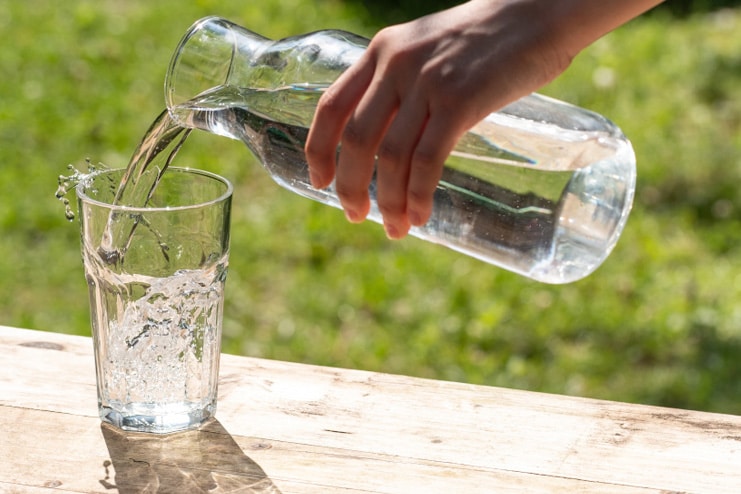
Select high-quality water, such as distilled or purified, to ensure your mineral water is toxins-free. Pour the water into a sterilized and thoroughly cleaned container to get it ready for mineralization.
Step 2: Adding Minerals
Following is a breakdown of the mineral content that should be added to your water: For every liter of water, add one-eighth of a teaspoon of calcium carbonate, one-eighth of a teaspoon of magnesium sulfate (also known as Epsom salt), one-eighth of a teaspoon of potassium bicarbonate, and a pinch of sodium chloride (often known as table salt). Thoroughly stir the minerals to ensure complete dissolution.
Step 3: Filtration Process
You can filter the mineralized water using a superior-quality water filter to eliminate any leftover pollutants and guarantee the highest possible purity level. You do not need to complete this step if you have started with purified or distilled water.
Step 4: Storage and Aging
The mineralized water should be poured into sterilized, airtight glass or plastic bottles free of BPA. The bottles should be kept in a cool, dark place for at least 24 hours to allow the minerals to properly integrate and enhance the flavor and quality of the water. This aging process allows the minerals to fully dissolve and infuse into the water, enhancing its taste and health benefits.
Step 5: Testing and Adjusting
Before you drink your mineral water, you should first taste it and, if you have a water testing kit, determine the amount of minerals it contains. Then, according to your preferences and your health, adjust the mineral amounts as needed. Enjoy the mineral water that you created yourself!
Tips and Tricks
If you want to make creating mineral water at home more straightforward and practical, consider experimenting with different mineral combinations to discover the ideal mixture that satisfies your preferences and requirements for maintaining good health. Begin with small batches and adjust the quantities of calcium, magnesium, potassium, and sodium until you obtain the flavor and mineral content you prefer.
A clean environment is of utmost importance. Always use sanitized containers and equipment to avoid contamination. This ensures that the mineral water you drink is safe and pure.
One more essential component is the correct storage. The best ways to store mineral water are in airtight glass bottles or plastic bottles that do not contain BPA. The bottles should be stored in a cold and dark location to preserve the mineral content and prevent degradation caused by light or heat.
Furthermore, ensure that your bottles are labeled with the date of preparation and the mineral combination utilized. This will facilitate the tracking of the aging process and enable you to reproduce batches that have been successful in the future. By following the guidelines, you can effortlessly enjoy homemade mineral water of superior quality.
Conclusion
Assuring that you drink water rich in minerals and of excellent quality can be accomplished in a straightforward, economical, and environmentally responsible manner by producing mineral water at home. You can enjoy bespoke mineral water tailored to your requirements if you choose high-quality water, add minerals vital to your body, and follow the appropriate storage practices. Experimenting with various mineral combinations and making sure the environment is clean can lead to further process improvement. Not only will you be able to save money and cut down on the amount of waste plastic produced, but you will also be able to gain control over the water you consume if you give producing mineral water at home a shot. Embrace this do-it-yourself method to live a healthier and more sustainable lifestyle.
-
Jan 2018Written by Sumana Maheswari
-
July 2024Edited by Ankita